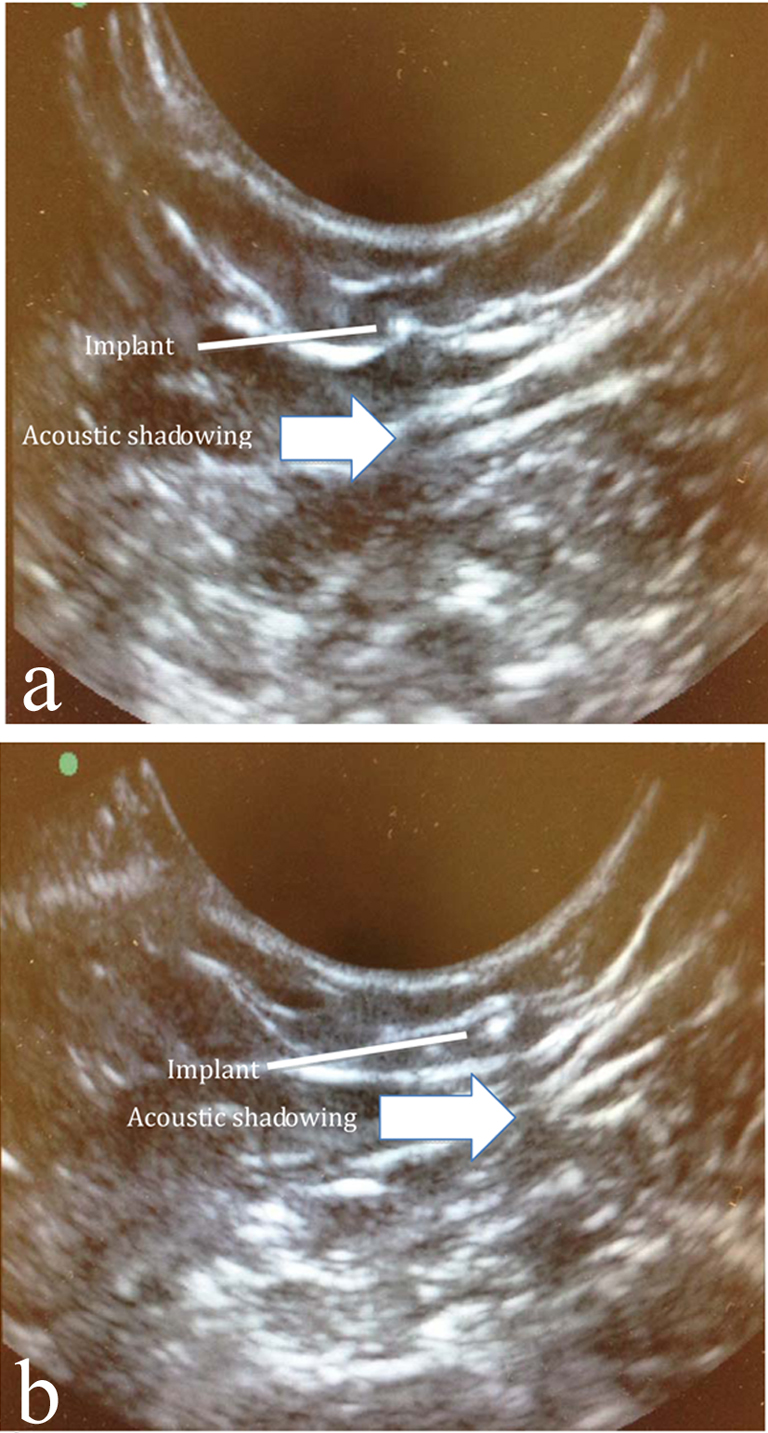
Figure 1. Acoustic shadowing of implant. In order to better see the acoustic shadowing behind the implant, two separate images of the implant are depicted. Note the movement of the acoustic shadowing as the image of the implant moves.
| Journal of Clinical Gynecology and Obstetrics, ISSN 1927-1271 print, 1927-128X online, Open Access |
| Article copyright, the authors; Journal compilation copyright, J Clin Gynecol Obstet and Elmer Press Inc |
| Journal website http://www.jcgo.org |
Case Report
Volume 3, Number 3, September 2014, pages 105-107
The Feasibility of In-Clinic Ultrasound-Guided Removal of Contraceptive Implants: A Case Series
Figures
Table
| 1) | Obtain an ultrasound machine with a vaginal probe (8 - 5 MHz). |
| 2) | Have the patient lie supine on the examination table with the arm containing the implant flexed at the elbow and externally rotated so that her wrist is parallel to her ear or her hand is positioned next to her head. |
| 3) | Adjust the depth of the ultrasound so that it is in the lowest depth and highest frequency setting (i.e. zoomed in). |
| 4) | Apply conductive gel and place the ultrasound probe on the insertion incision scar as a starting point. Obtain a transverse view of the implant by identifying the bright 2 mm cross-section of the implant and the underlying acoustic shadowing (Fig. 1). |
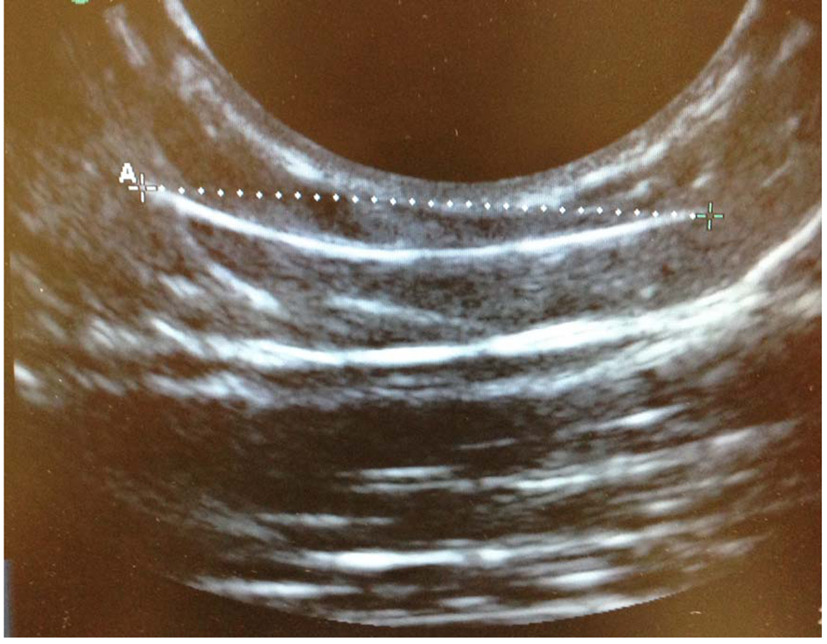
| 5) | Mark the borders of the implant by determining where this bright image with the underlying column of acoustic shadowing is no longer visible proximally and distally. |
| 6) | Remove the probe and gel. |
| 7) | Sterilely prep the area and cover the ultrasound probe so that it remains sterile. |
| 8) | Inject local anesthetic at the desired incision site. |
| 9) | Create a small incision distal (toward the elbow) to the mark at the distal edge of the implant. Attempt to grasp the implant with the hemostat and then flip the hemostat to identify the implant. |
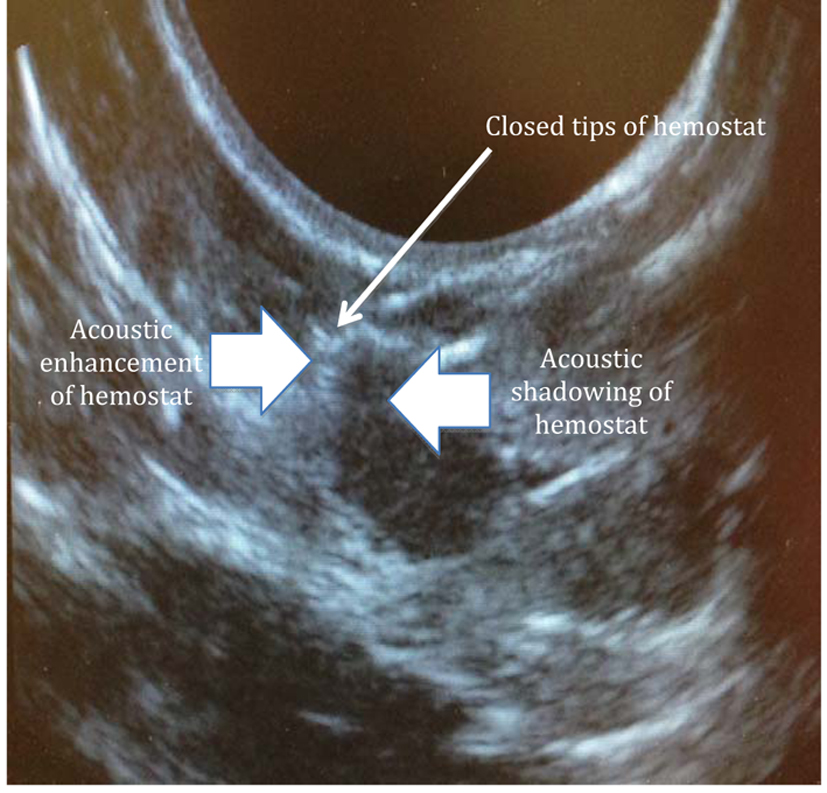
| 10) | If the implant is not obviously grasped within the hemostat, ask the assistant to bring the ultrasound probe back to the field in order to identify the location of the hemostat in relation to the implant (Fig. 3). |
| 11) | Proceed with removal under ultrasound guidance as needed. If the physician chooses to remove the implant without constant visualization with sonography, the probe can be used intermittently to assess relative locations of the hemostat and subdermal implant. |